Websockets for real-time updates
WebSocket is a communication protocol that provides full-duplex communication channels over a single, long-lived connection.
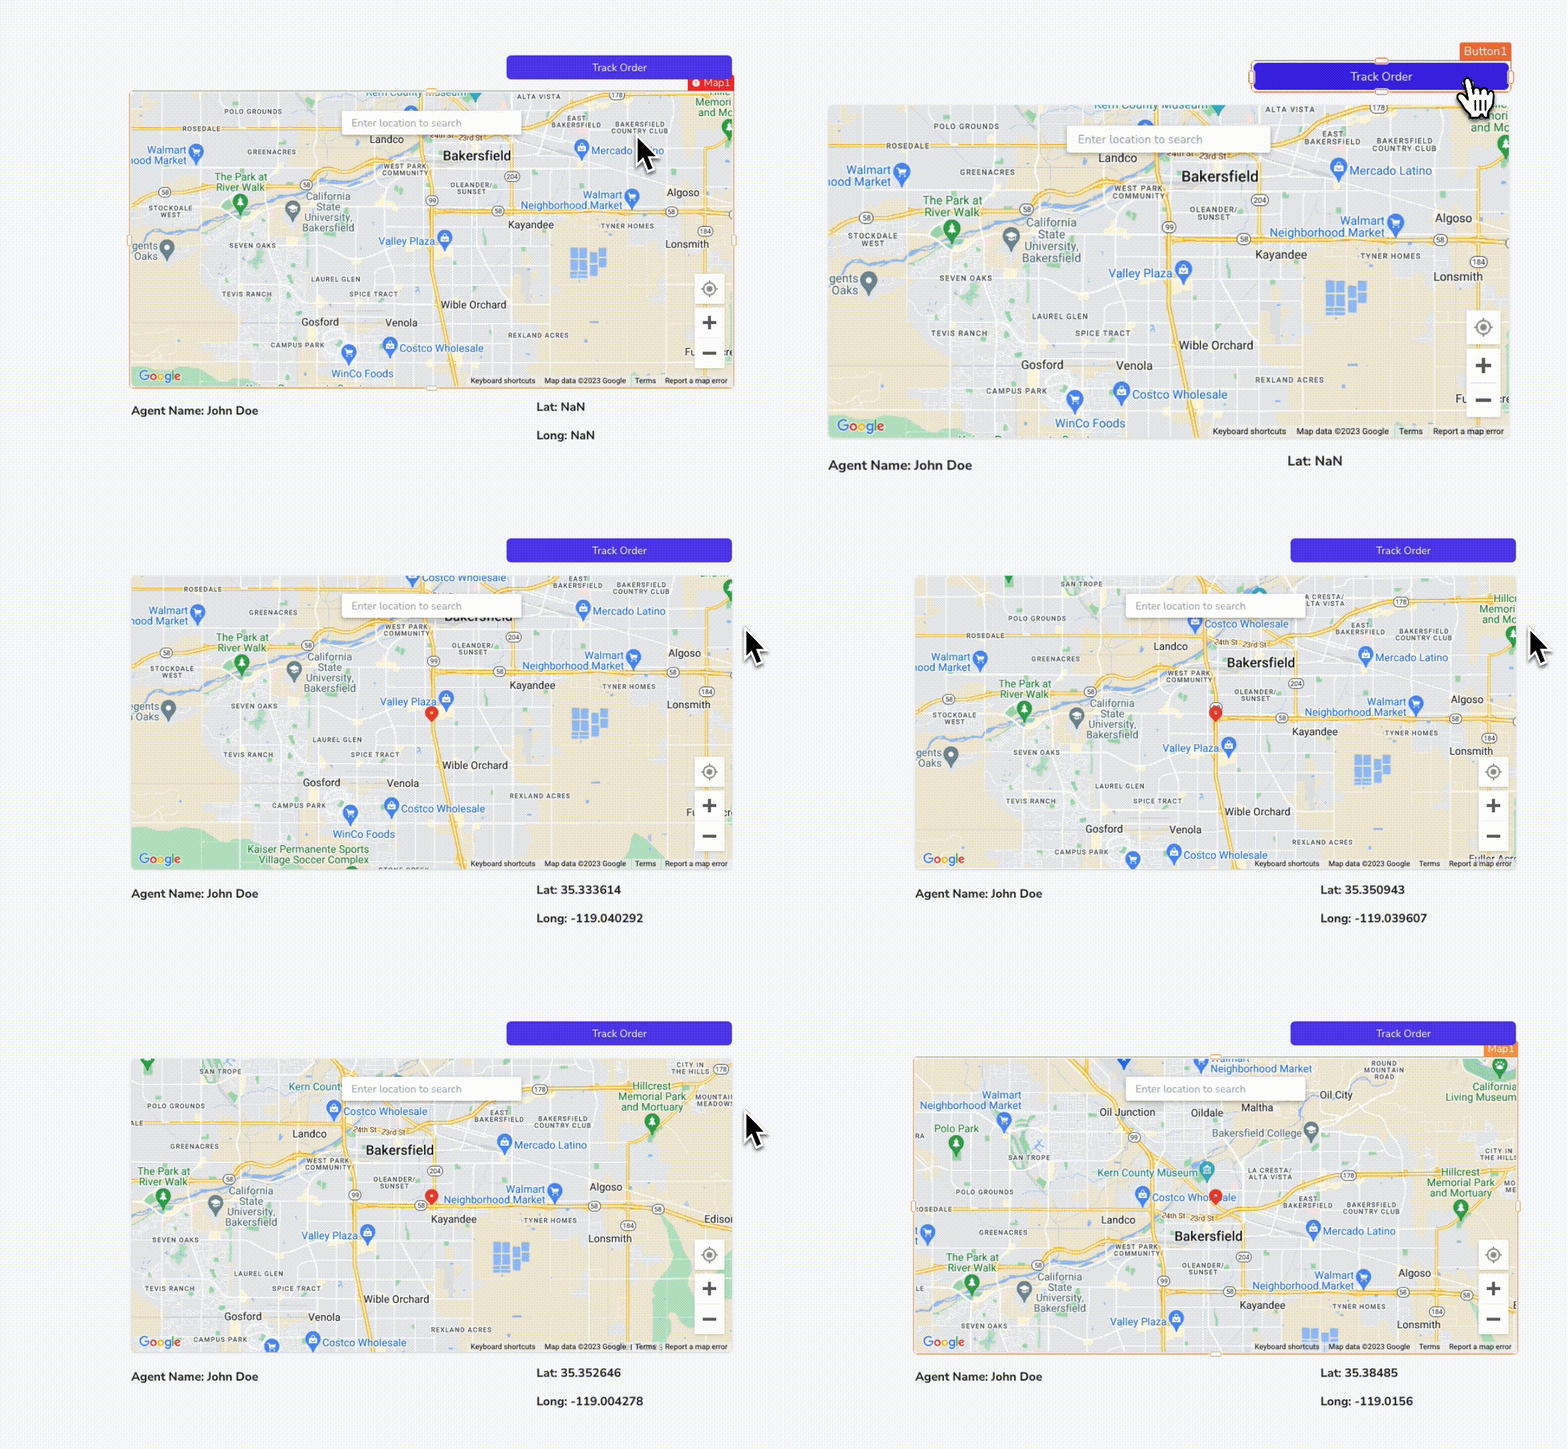
This page shows you how to set up Websockets in Appsmith, enabling you to leverage real-time communication capabilities. Additionally, an example to display live locations on a Map widget through WebSocket communication.

Prerequisites
A Websocket endpoint - It can be any endpoint, whether public or your own.
Configuration
To configure and set up WebSocket connections, follow the steps:
- Create a new JSObject and add your Websocket URL. Define
socketfor the WebSocket instance, andmarkersDatato store received data. Like:
export default {
// WebSocket URL
socketURL: 'wss://yourapi.execute-api.us-east-2.amazonaws.com/production',

// WebSocket instance
socket: null,

//To store received data
markersData: [],
- Create a function to establish a Websocket connection.
// Function to initialize the WebSocket connection
initWebSocket() {
  // Create a new WebSocket instance
  this.socket = new WebSocket(this.socketURL);

  // Event handler for successful connection
  this.socket.onopen = () => {
  console.log('WebSocket connection established successfully');

};
This function creates a new WebSocket connection using the specified URL.
- Implement code within the same function to send a message to the server based on your endpoint requirements.
// Send a message to the API when successfully connected
const message = JSON.stringify({ action: 'onmessage' });
// Customize the message payload based on your endpoint requirements

this.socket.send(message);
The above code sends a JSON-formatted message, allowing you to customize the payload based on your specific endpoint requirements.
- Implement a message handler for incoming Websocket data.
Example: If you want to implement live order tracking based on real-time location information, add the following code to handle the incoming data.
// Event handler for incoming messages
this.socket.onmessage = (event) => {
  // Parse the incoming data
  const responseData = JSON.parse(event.data);

  // Log the raw data for reference
  console.log('Received data:', event.data);

  // Extract and convert relevant data
  var originalData = event.data;
  var dataObject = JSON.parse(originalData);
  var lat = parseFloat(dataObject.lat);
  var long = parseFloat(dataObject.long);

  // Format the data into a new array
  var newFormatData = [{ "lat": lat, "long": long }];

  // Log the formatted result
  console.log('Formatted data:', newFormatData);

  // Update markersData array
  this.markersData = newFormatData;
};
This code captures latitude and longitude data from Websocket endpoints. It then transforms this data into a format compatible with the Map widget.
- Implement error handling and connection closure events.
// Event handler for WebSocket errors
this.socket.onerror = (error) => {
  console.error('WebSocket error:', error);
};

// Event handler for closing the WebSocket connection
this.socket.onclose = () => {
  console.log('WebSocket connection closed');
};
This code sets up event handlers to log WebSocket errors and report the closure of the WebSocket connection.
- Bind response data with widgets as needed.
Example: To display live location, drop a Map widget and add the following code into the Default markers property:
[{{WebsocketUtils.markersData[0]}}]
- Drop a Button widget and set its onClick event to initiate the WebSocket function, like:
{{WebsocketUtils.initWebSocket();}}